Pages

Thursday 5 December 2013

Sari Silk Flower Brooches


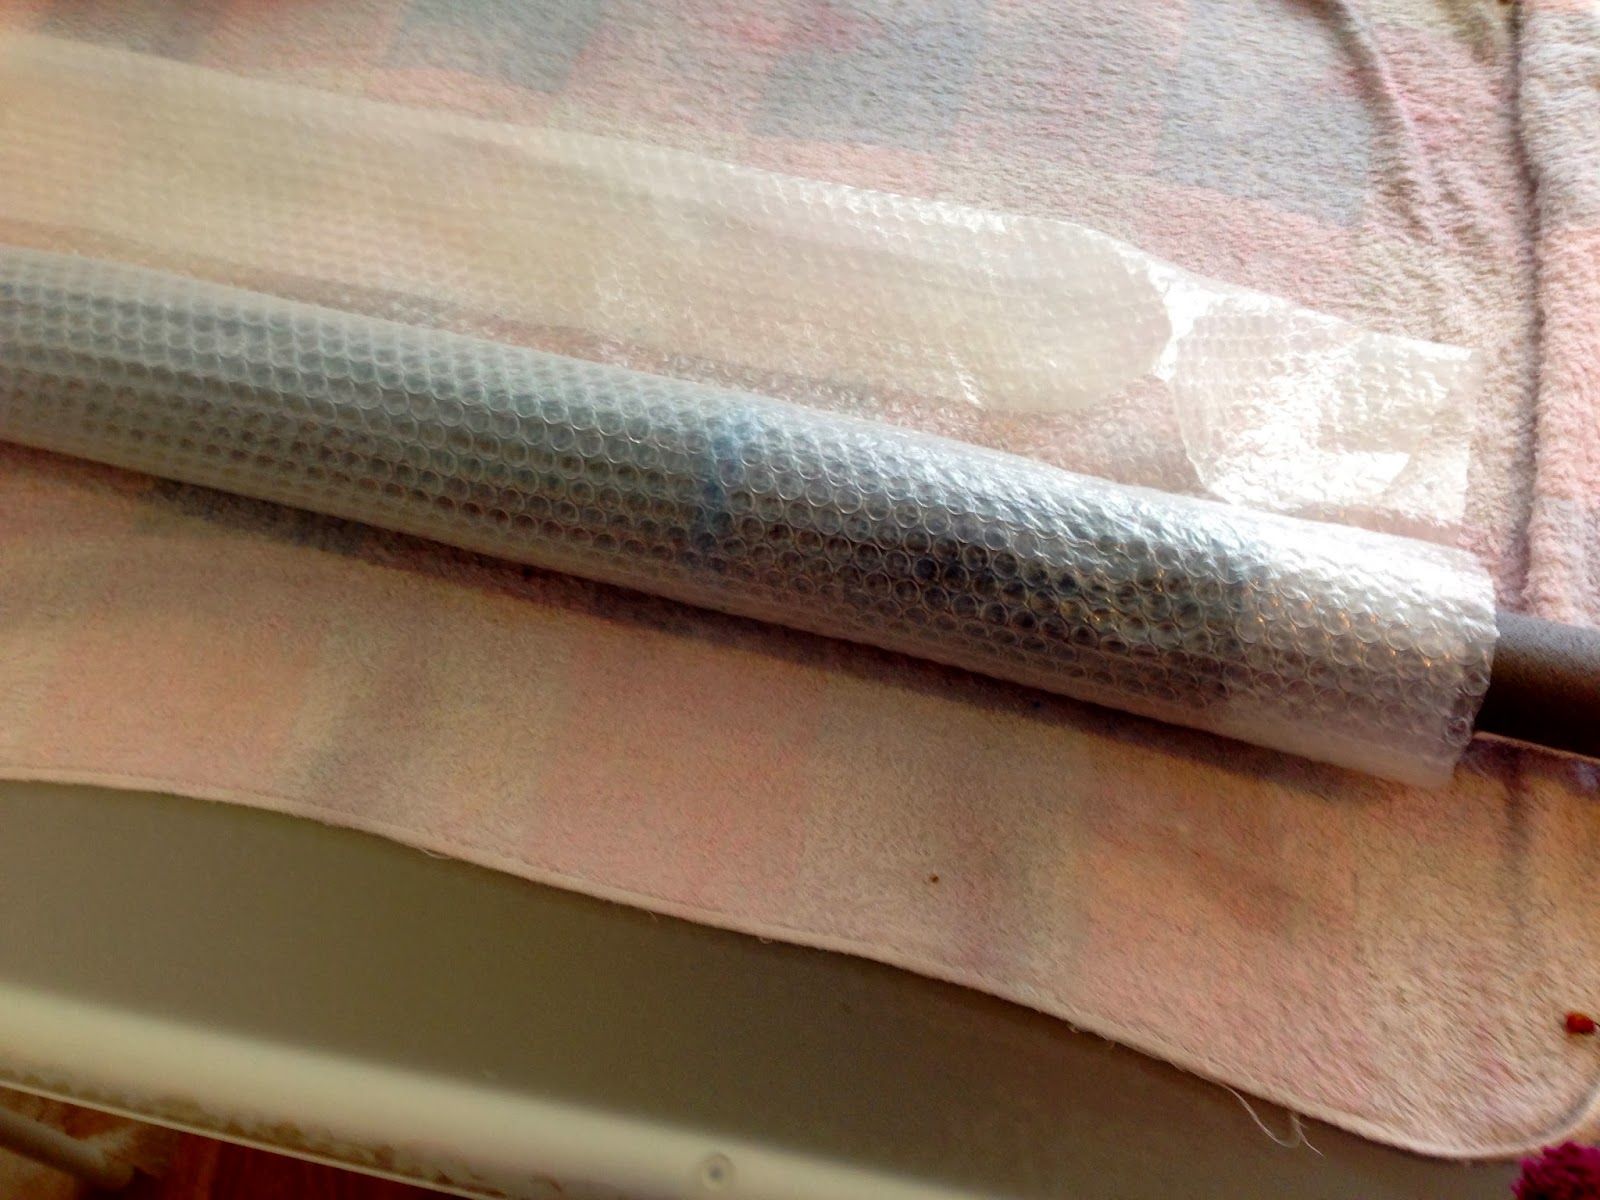
I've been busy making these sari silk flower brooches - and to cut down on the time it takes to make them I've been letting the washing machine do the work: I  lay out three thin layers of wool on netting, place sari silk on top, cover with another piece of netting, roll in a piece of pipe insulation, place in a cut off leg from a pair of tights and then place straight in the washing machine on a quick 30 minute 30 degree wash (with normal non biological washing powder!). I then remove it from the tights and netting and put it back in for another 30 minute wash. I then roll smooth with a rolling pin and usually when dry make into these flower brooches. So don't get my hands wet at all! ( I do get them wet after cutting out to make sure they are quite well felted I roll them in my hands - I also like to scrunch them up when wet and leave to dry to give them some shape).

Didn't think I had any photos but just found some!

It's also a good way to use up oldish wool if you can card it first.


 Unrolling it after the first wash.


After the second wash and before rolling flat.


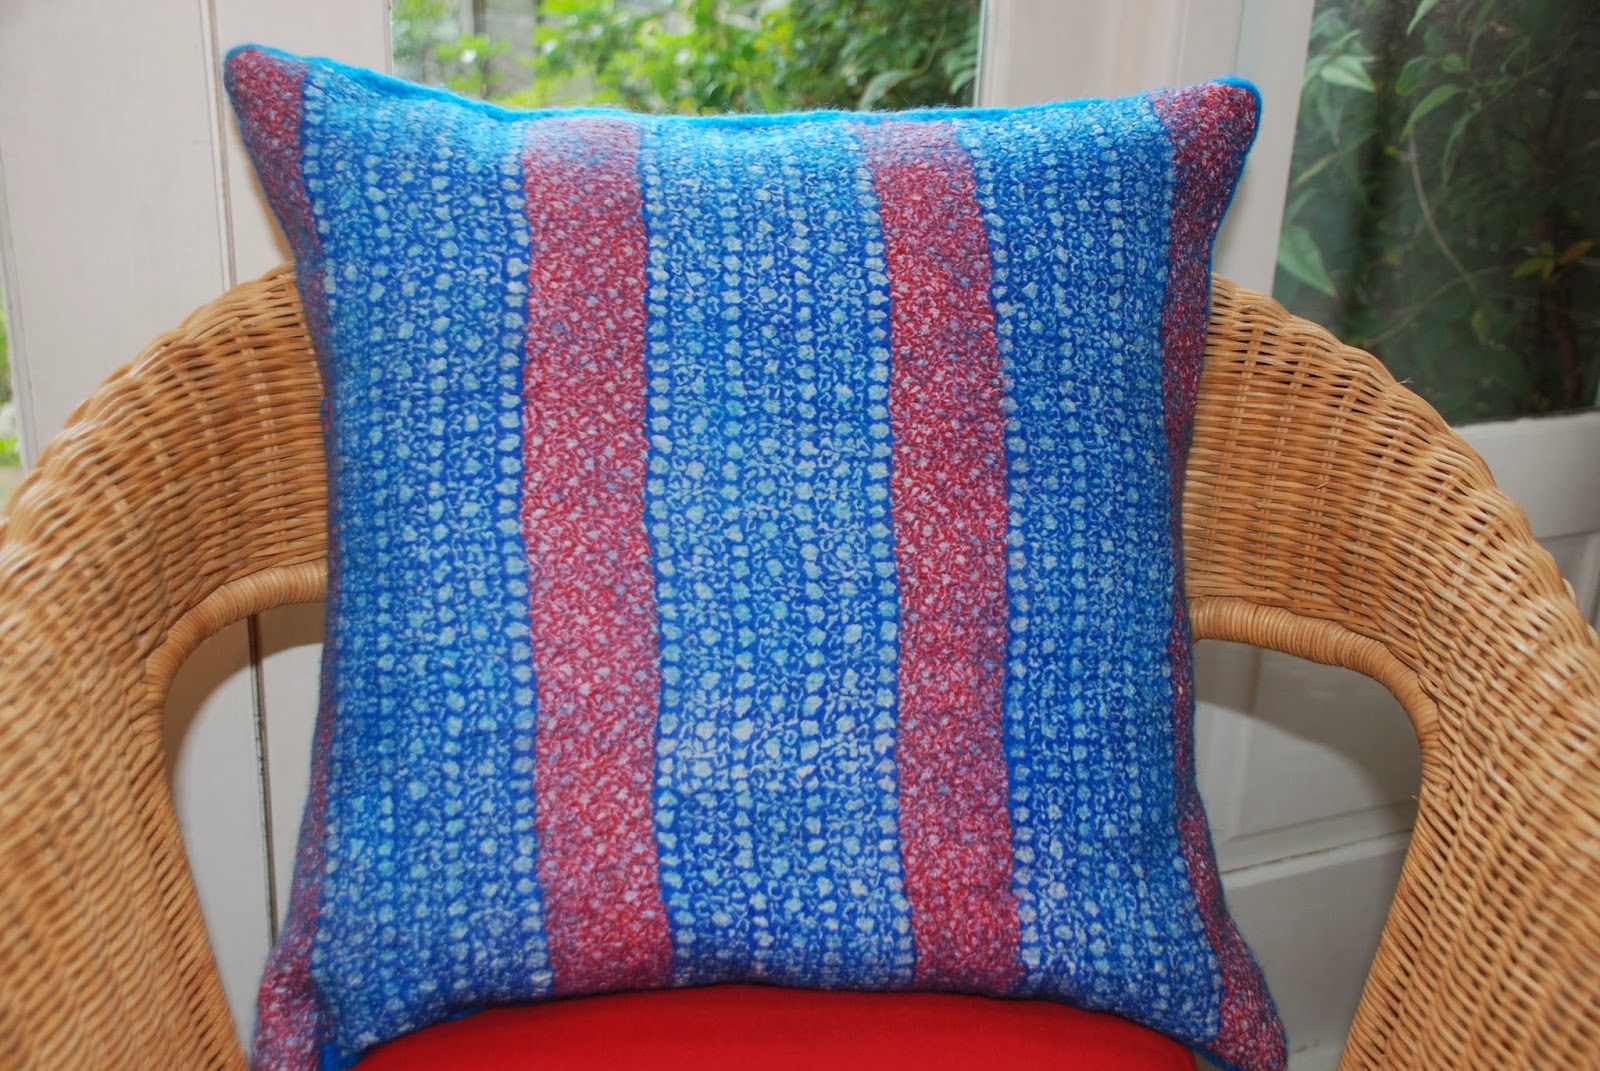
Can't find any photos of the brooches I made with these pieces but here's a blurred photo of some others!


And an over exposed one!


Wednesday 20 November 2013

Using wool Prefelts to make a Christmas Card/Coaster


Photos and brief instructions of an easy felting Christmas project which you can make into a Christmas card or use for a festive Christmas coaster.

You will need a tea towel, some thin plastic or bubble wrap, paper, pins, needle, shiny thread, prefelt, soap and water.


First you draw your design, pin it onto prefelt and cut around.


Then cut a 13cm square out of prefelt and add detail with shiny thread. Here I laid the dove on the square to know where I wanted the leaves.


Seen without the dove.

Place the dove in place, put it on a square of thin plastic or bubble wrap, on top of a tea towel and wet with warm soapy water.


If anything moves carefully reposition it and then cover with thin plastic or bubble wrap. Sprinkle with some of the warm soapy water so your hand can slide over the plastic and rub gently for five minutes or so, turn and rub the back also for five minutes.

Now you need to roll - one of the easiest things to use is a bamboo mat but if you don't have one it's easy enough to roll the tea towel up to form a roller and then continue to roll up the plastic and felt. I find it easier to roll backwards and forwards if the tea towel is slightly wet, which it perhaps will be from wetting the piece but if not you can sprinkle a bit of water onto it.


Roll for about 50 rolls ( I use little pressure) before unrolling and turning the piece a quarter turn clockwise. Then roll for another 50 rolls.

Turn again and roll 50 rolls.

And again.


Then flip everything over so the back is showing and repeat the above rolling but roll for 100 rolls each way.

Turn again so the front is facing and roll another 50 rolls each way. 

Keep checking to see if the felt has shrunk - you want it to shrink to about 11.5cms.

When it is as felted as you require roll up and rinse under a warm tap, then pat dry on a towel and if possible roll flat with a rolling pin.

Here are some other designs.


They could be used together to make a table runner maybe?  

Friday 8 November 2013

Sari Silk Cushions


Photos of how I make them.


 Photos change to another cushion now since I didn't take anymore photos of the above one until I'd finished it!

From the above stage to the stage below there was quite a bit of rubbing then rolling.


The finished cushions.


Tip: Dry flat - the lines were caused by me being impatient and drying it on a very hot radiator!

To sum up these were made in the same way as my bags but I did four layers of the bottom overlap, turned, did four layers on the front, turned, did four layers of the top overlap.

It's important to overlap more than you think you need:


The blue one was sorted by sewing three hook and eyes on.