


This is the first ever Yarndale so it was hard to predict how busy it would be. Luckily it was very busy!
I met lots and lots of lovely people - customers, exhibitors and organisers (who I think did an amazing job at making this such a successful show).
I wish I had taken more photos but I just didn't get the chance!
I also didn't get much of a chance to look around once the show opened but whizzing to my stall on the Sunday morning I was stopped in my tracks by this beautiful crochet scarf from the Natural Dye Studio.

The colours and the yarn are absolutely gorgeous.


I never finish big projects but I'm determined to do a few triangles every day - we'll see!
The only other thing I managed to buy was this cute stitch marker from the lovely Undercover Owl/One Hand Knits.

It might just encourage me to finish the matching sock to the one and only sock I've ever knitted!
There was quite a bit of interest in how I"d made some scarves so I promised to post some pictures of how I made them. The instructions are fairly brief but I will try to do a more detailed tutorial soon.

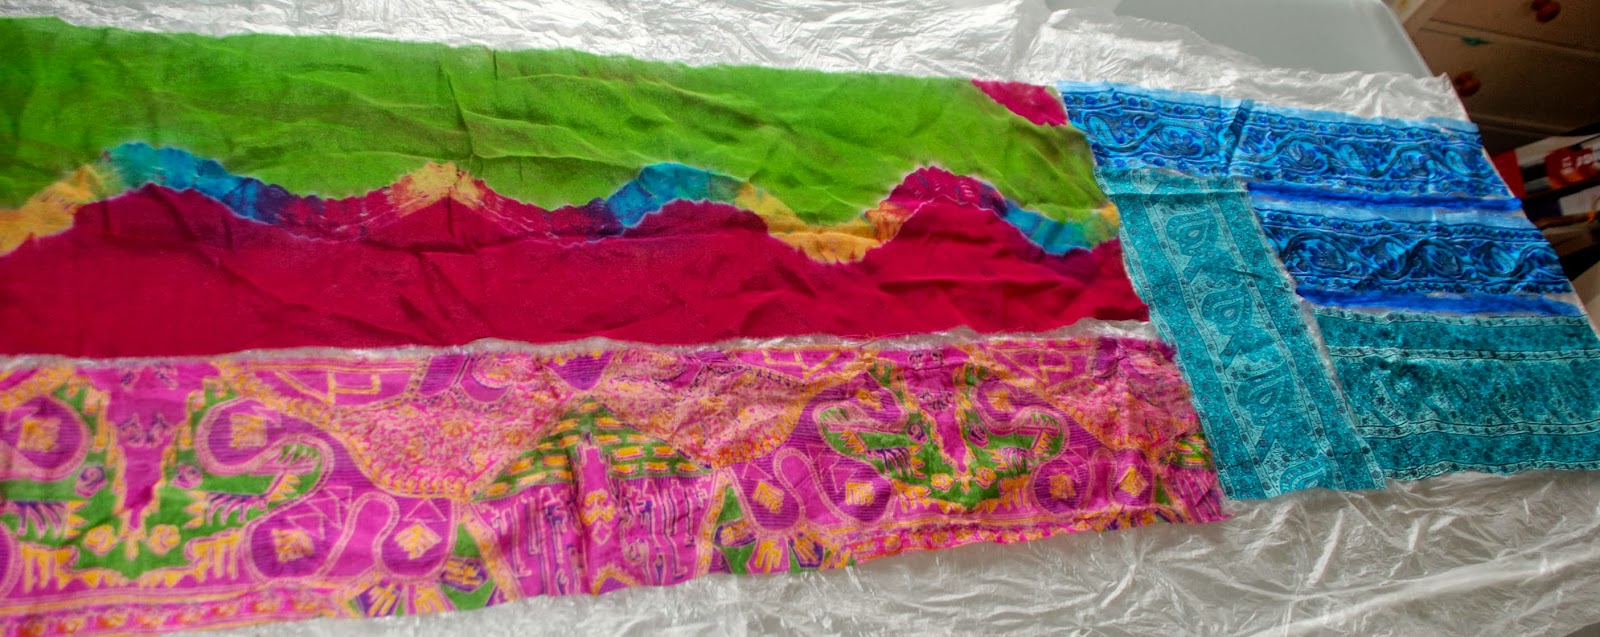


Unfortunately I didn't take a photo of the finished scarf! And I sold it on Saturday so can't take one now!
Here are photo's of a blue and a red scarf that I made at the same time - I probably won't do that again though since it was a bit of a squash! They were made the same way as the one above.


Will post more detailed instructions soon x
No comments:
Post a Comment